Installation
Setting up the Raspberry Pi
- In Raspberry Pi imager select the following:
- Device: Raspberry Pi 4 (or your current Pi type)
- Operating System: Raspberry Pi OS (64-BIT)
- Storage: Your connected MicroSD (shown as APPLE SDXC READER MEDIA in image)
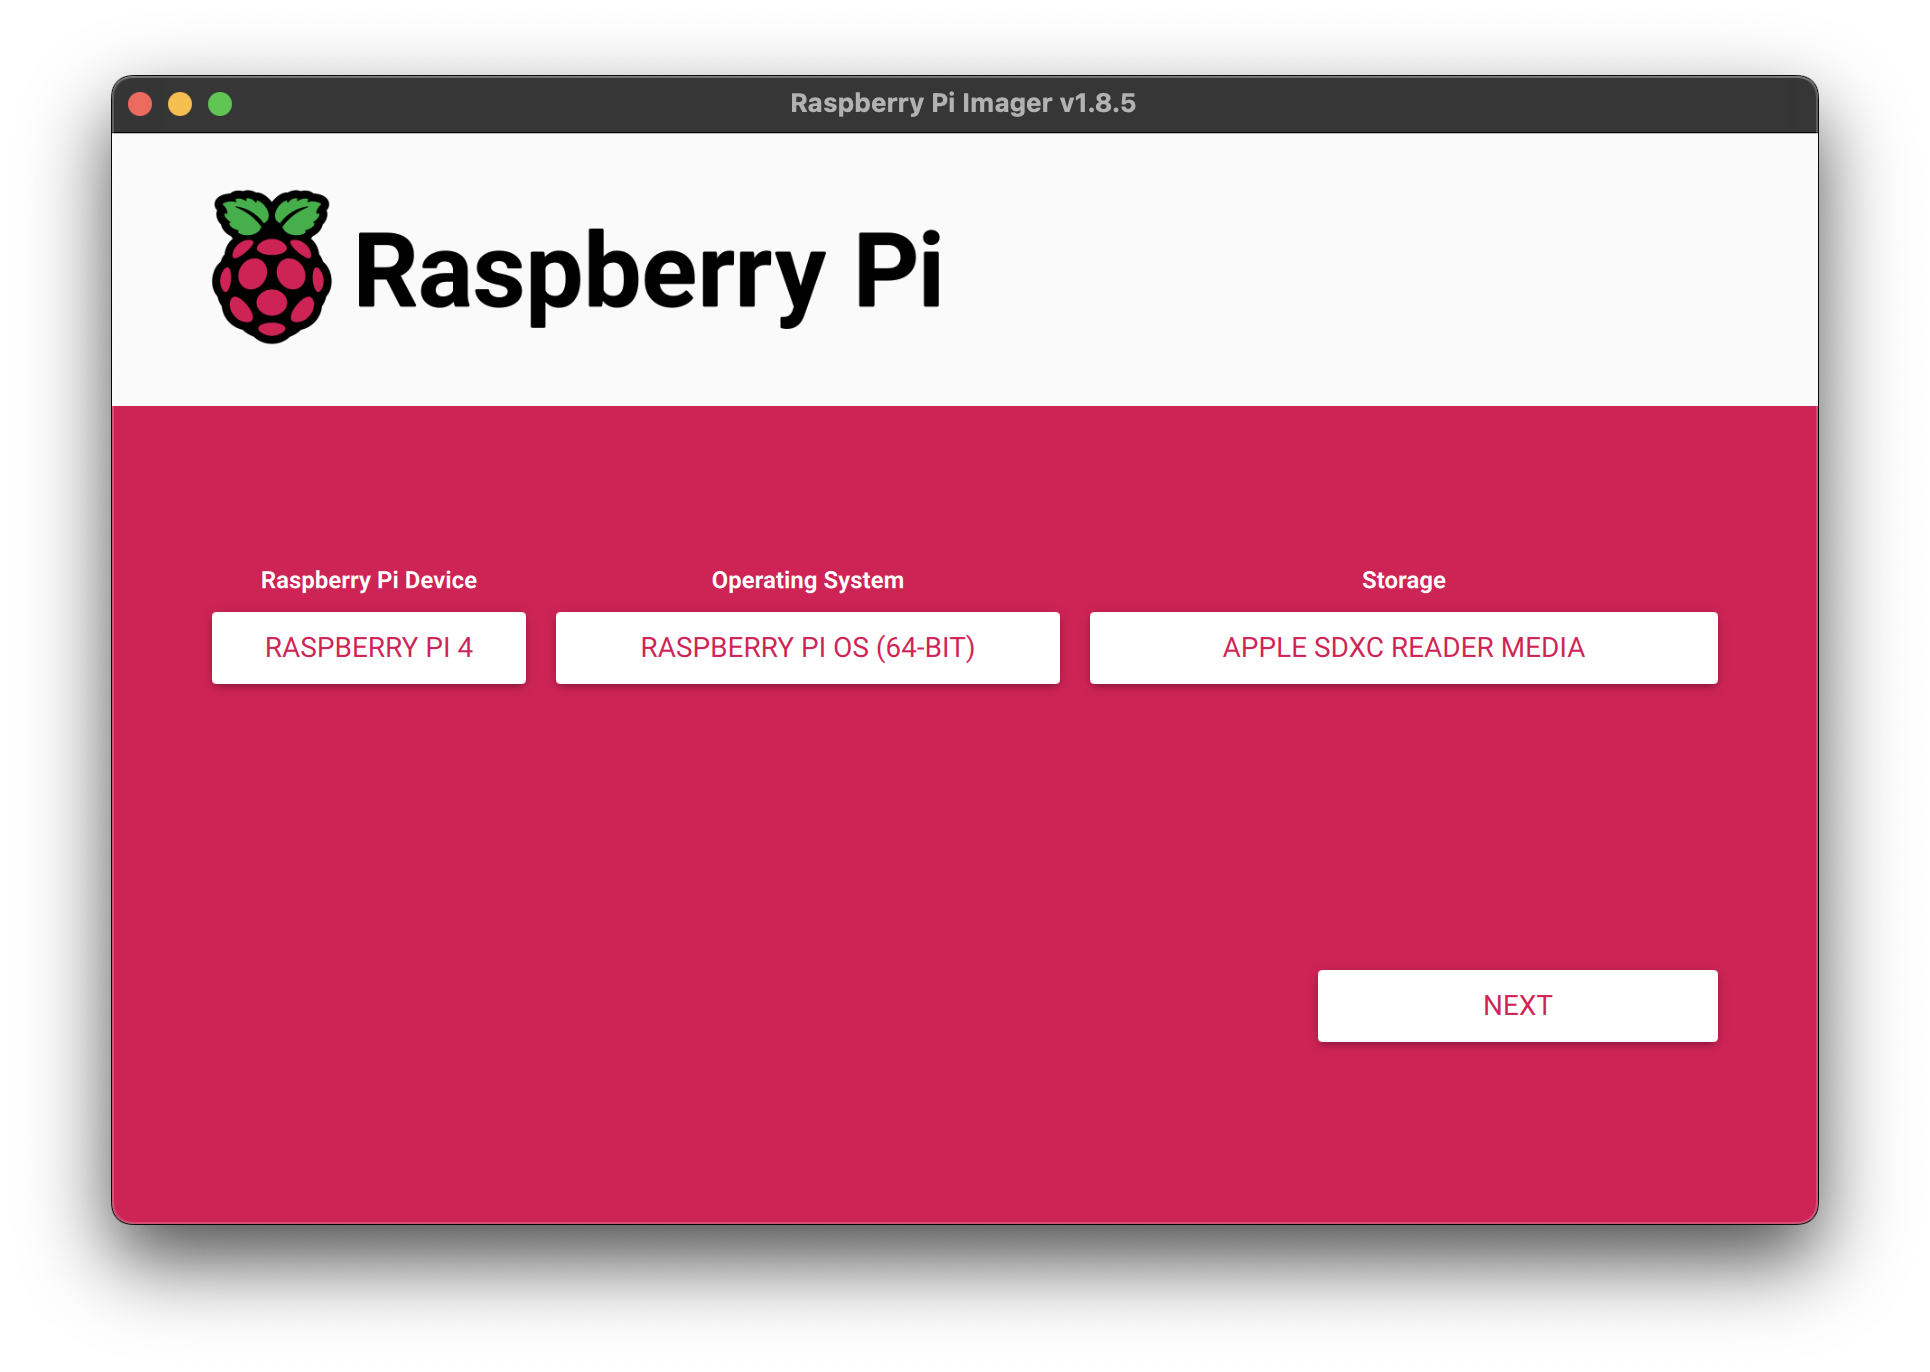
- Select Next, Edit settings.
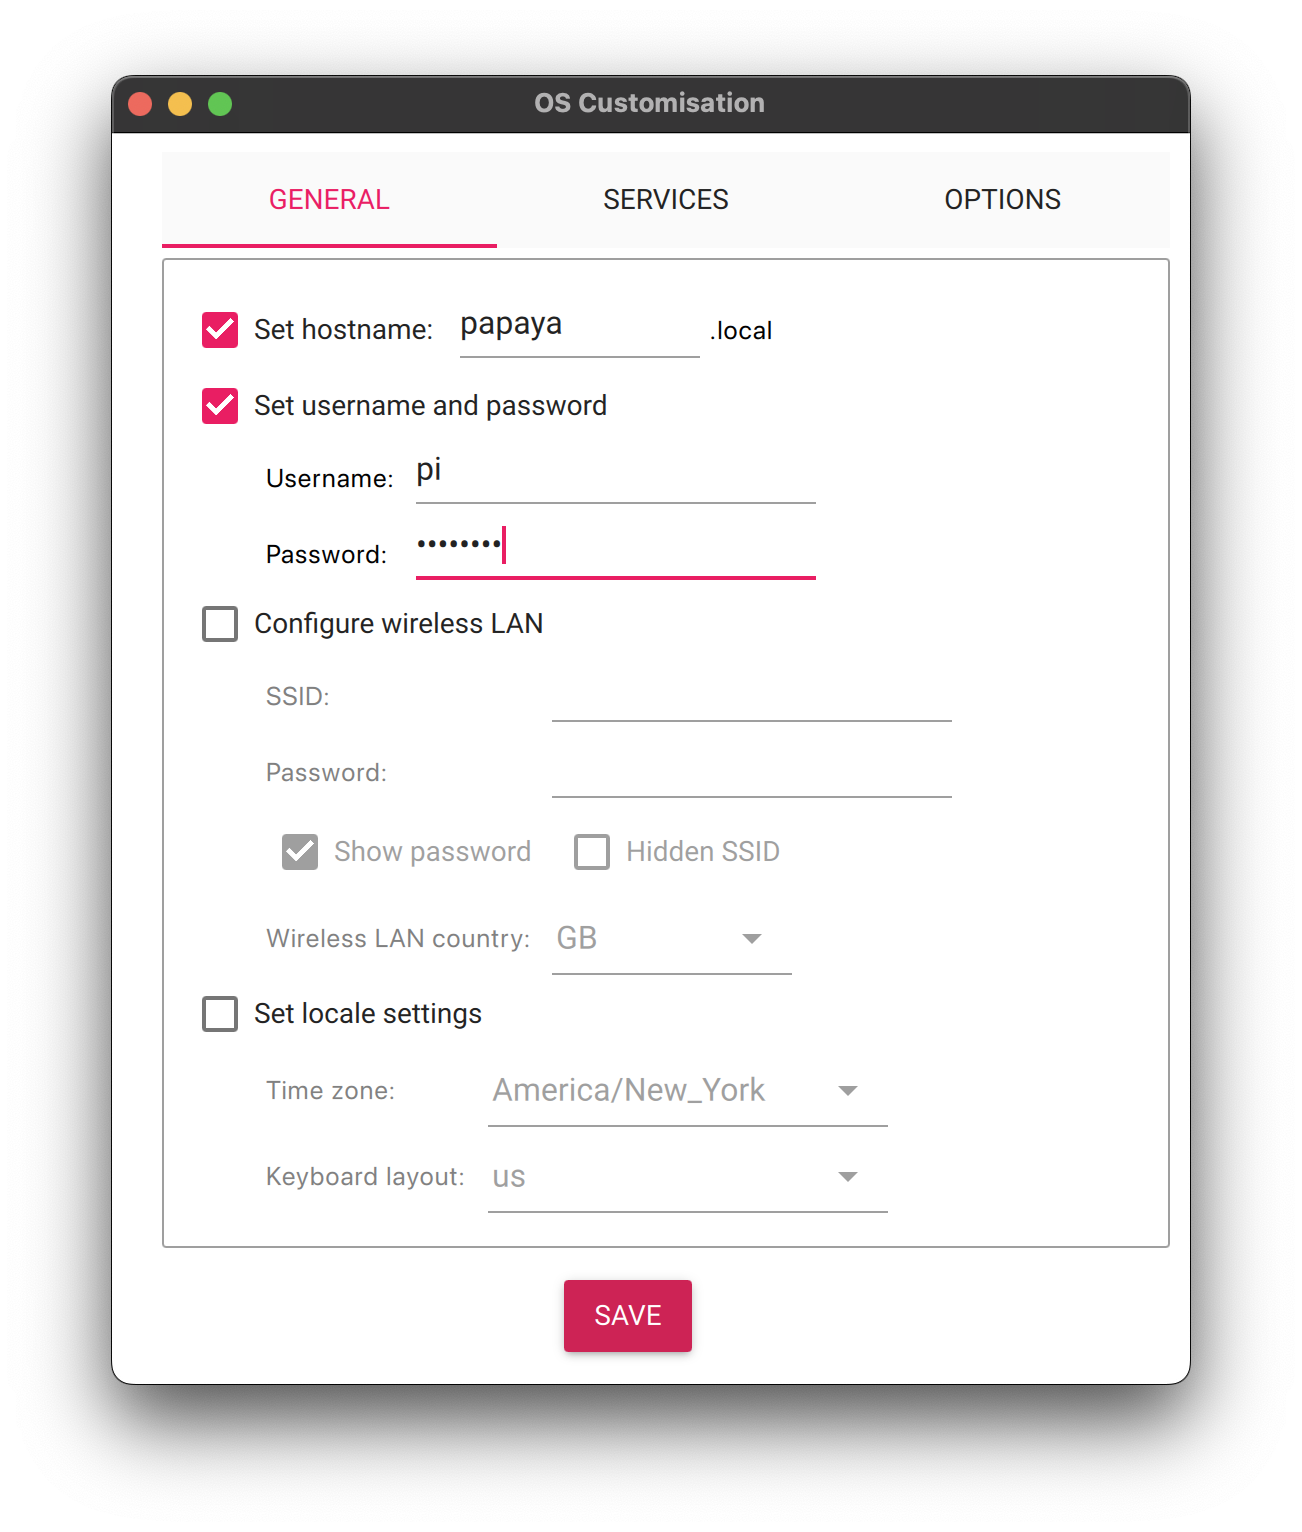
- Set hostname to desired node name (shown as Papaya)
- Set username to "pi" (Do not include the quotes)
- Set desired password
- Ensure "Configure wireless LAN" is UNCHECKED
- Ensure "Set Locale Settings" is UNCHECKED
-
Select Services tab at the top
- Ensure SSH is enabled
- Ensure "Use Password Authentication" is selected

-
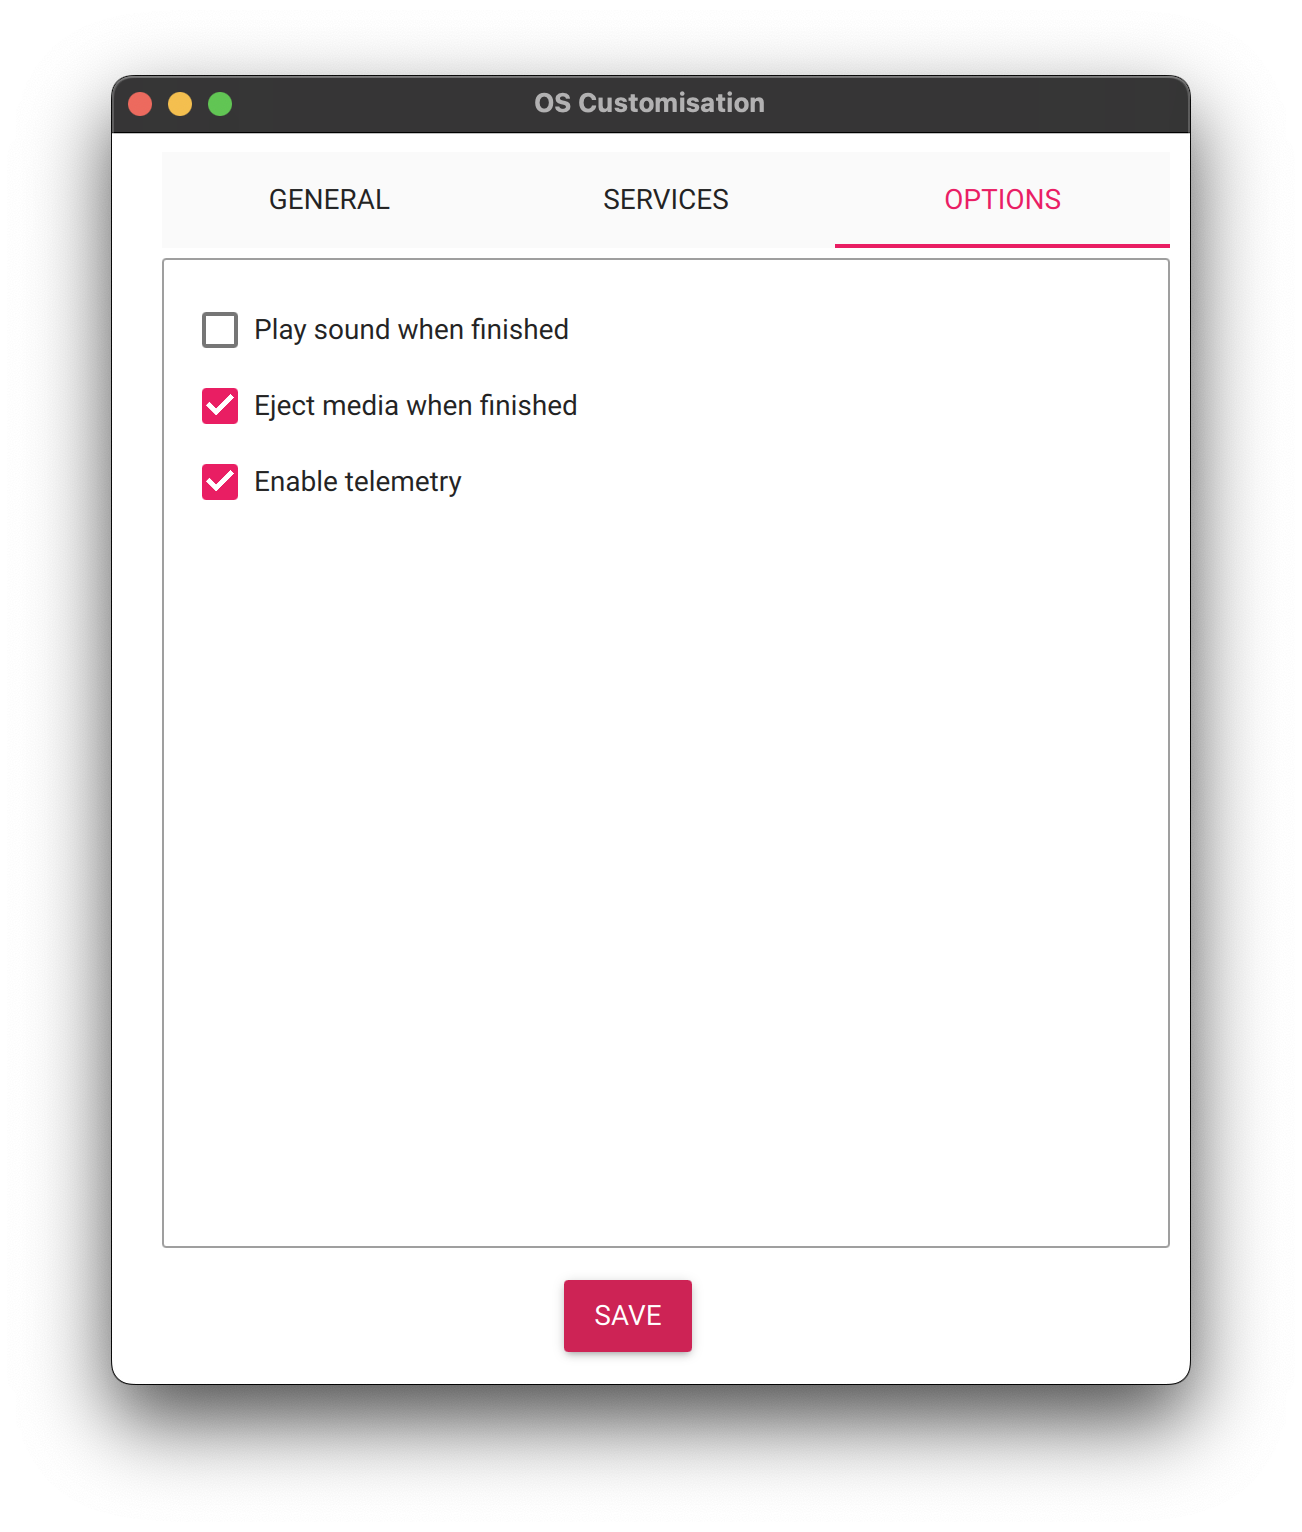
Leave Options unchanged. Save and select Yes.
-
Select Yes again on the prompt, and provide system password if necessary.
-
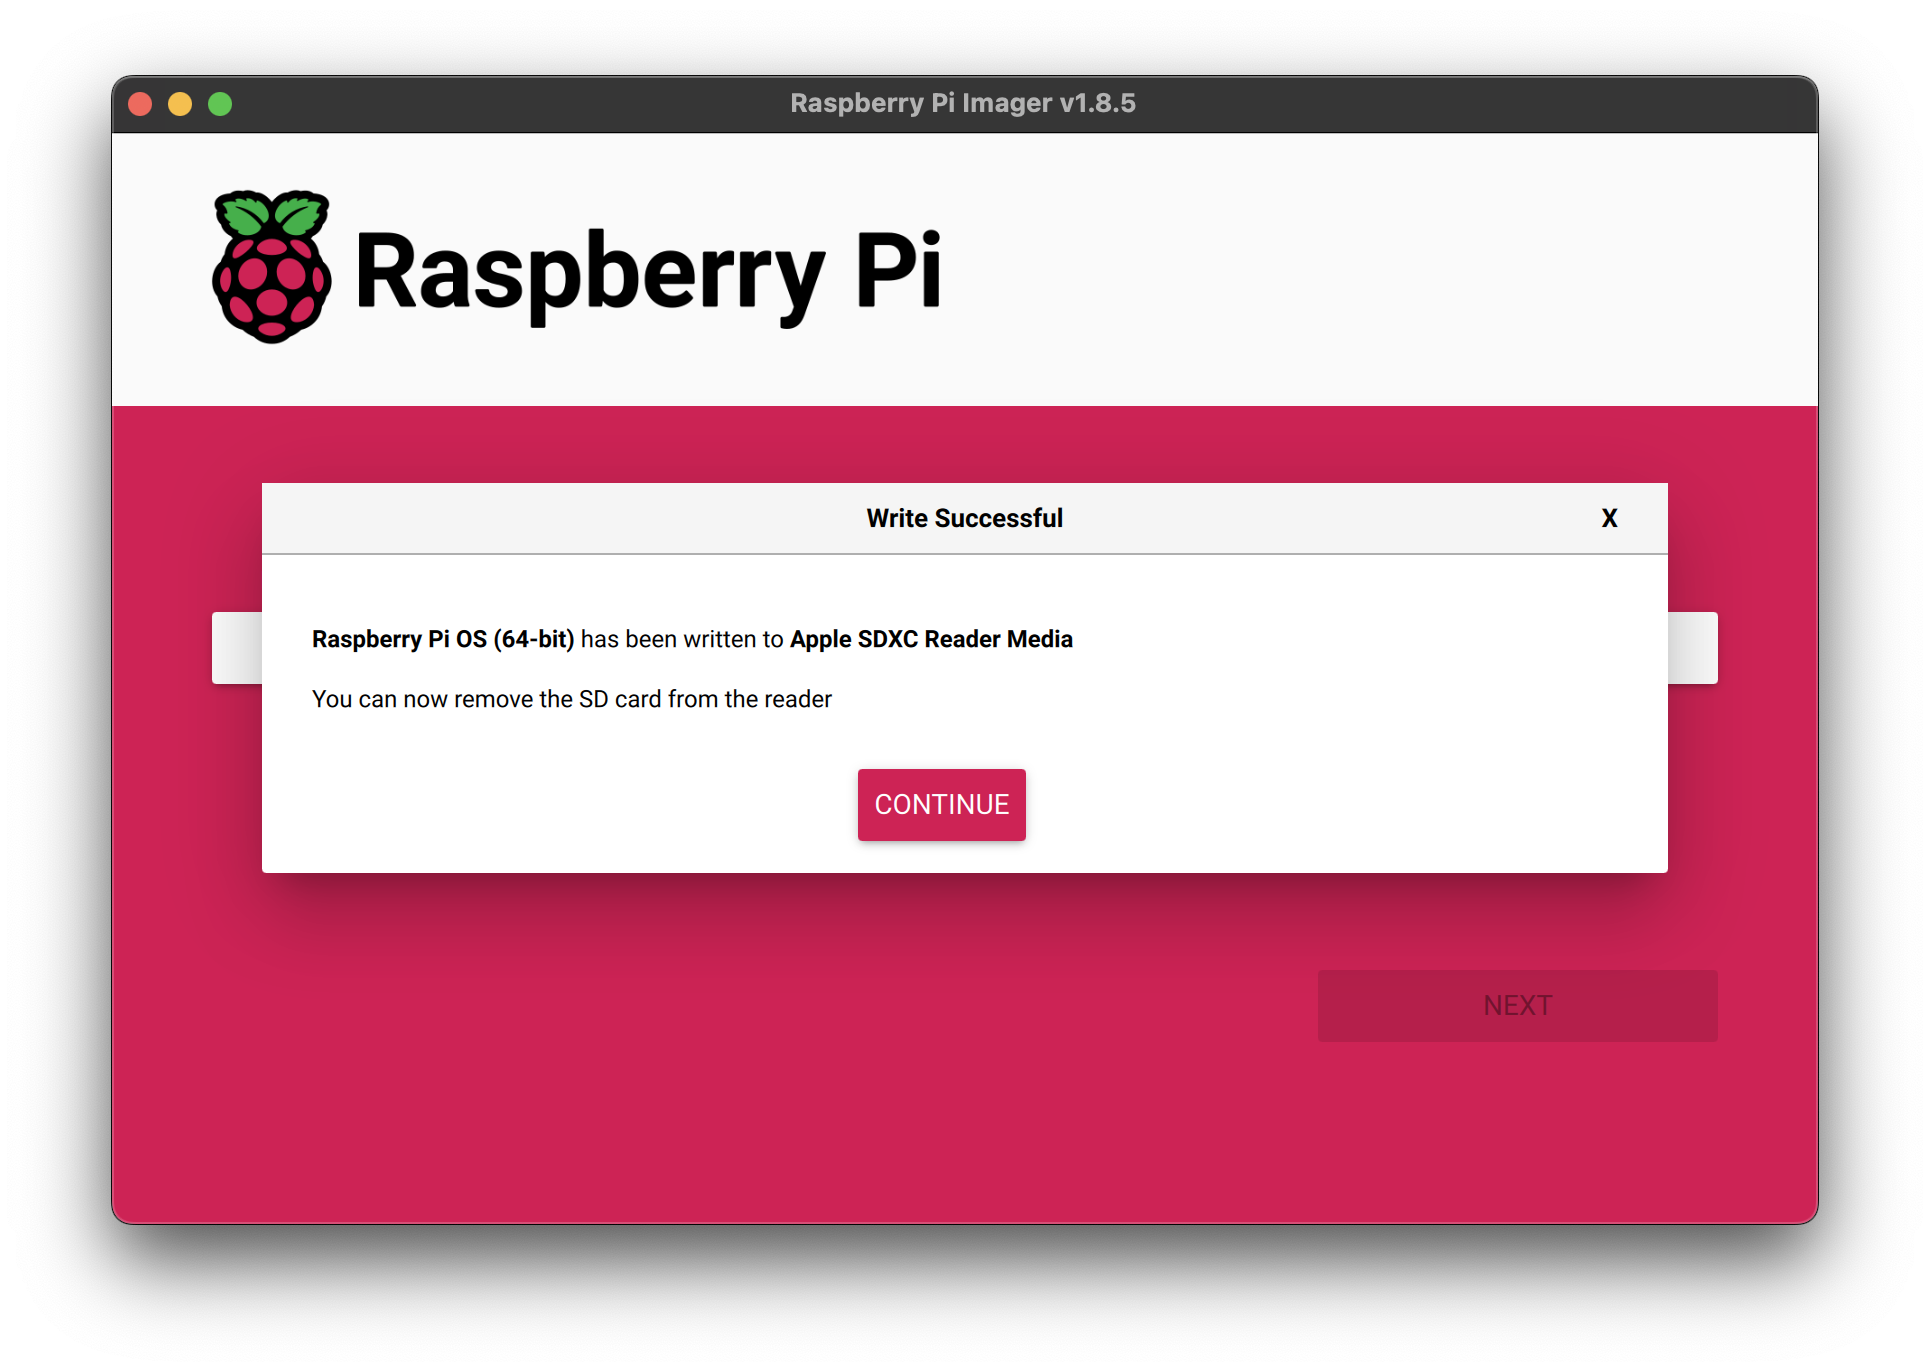
Wait, this may take a while.
-
Remove SD card from computer and plug the card into Raspberry Pi.
- Plug the Raspberry Pi into power.
- Plug campus Ethernet into Raspberry Pi.
Note the camera must be plugged in before continuing
-
Open a Terminal instance and enter the following command into it:
ssh-copy-id pi@<pi's name>.local- So to SSH into the Pi created in this tutorial we would do
ssh-copy-id [email protected] - Enter the password you set in step 2.
This will allow you to SSH into the Pi without needing to enter a password.
- So to SSH into the Pi created in this tutorial we would do
-
Add the host to the Ansible inventory.
-
Open the Ansible inventory file in your favorite text editor. For example, if you are using nano, you can do this by running the following command in your terminal:
nano ansible/inventory/host.ini -
Add the node to the inventory file under
[pis]. The format should be as follows:[pis] <node name>.local ansible_connection=ssh ansible_ssh_user=pi - So for the Pi created in this tutorial, we would add the following line:
[pis] papaya.local ansible_connection=ssh ansible_ssh_user=pi - Save and exit the file.
-
-
Run the following command to set up the node:
ansible-playbook -i ansible/inventory/hosts.ini -e @ansible/secrets/secrets.yml --ask-vault-pass --ask-become-pass ansible/playbooks/setup_node.yml -
Enter password you set in Step 2.
-
Enter the Vault password you were given.
-
Wait for the playbook to finish running. This may take a while.
-
Once the playbook has finished running, you should the node is online in the Heimdall dashboard.
Setting up the GPS
Pre-requisites:
- You have a GPS module connected to the Raspberry Pi.
- The GPS module is blinking at one second intervals. This indicates that the GPS module is locked on 4 or more satellites and is ready to provide accurate time and location data.
see the GPS module setup
Setting up the GPS module
- Open a terminal and run the following command:
ansible-playbook -i ansible/inventory/hosts.ini --ask-become-pass ansible/playbooks/setup_gps.yml - Enter the password you set in pi imager.
While this running periodically check the GPS module to ensure it is blinking at one second intervals
- Wait for the playbook to finish running. This may take ≈20 minutes.